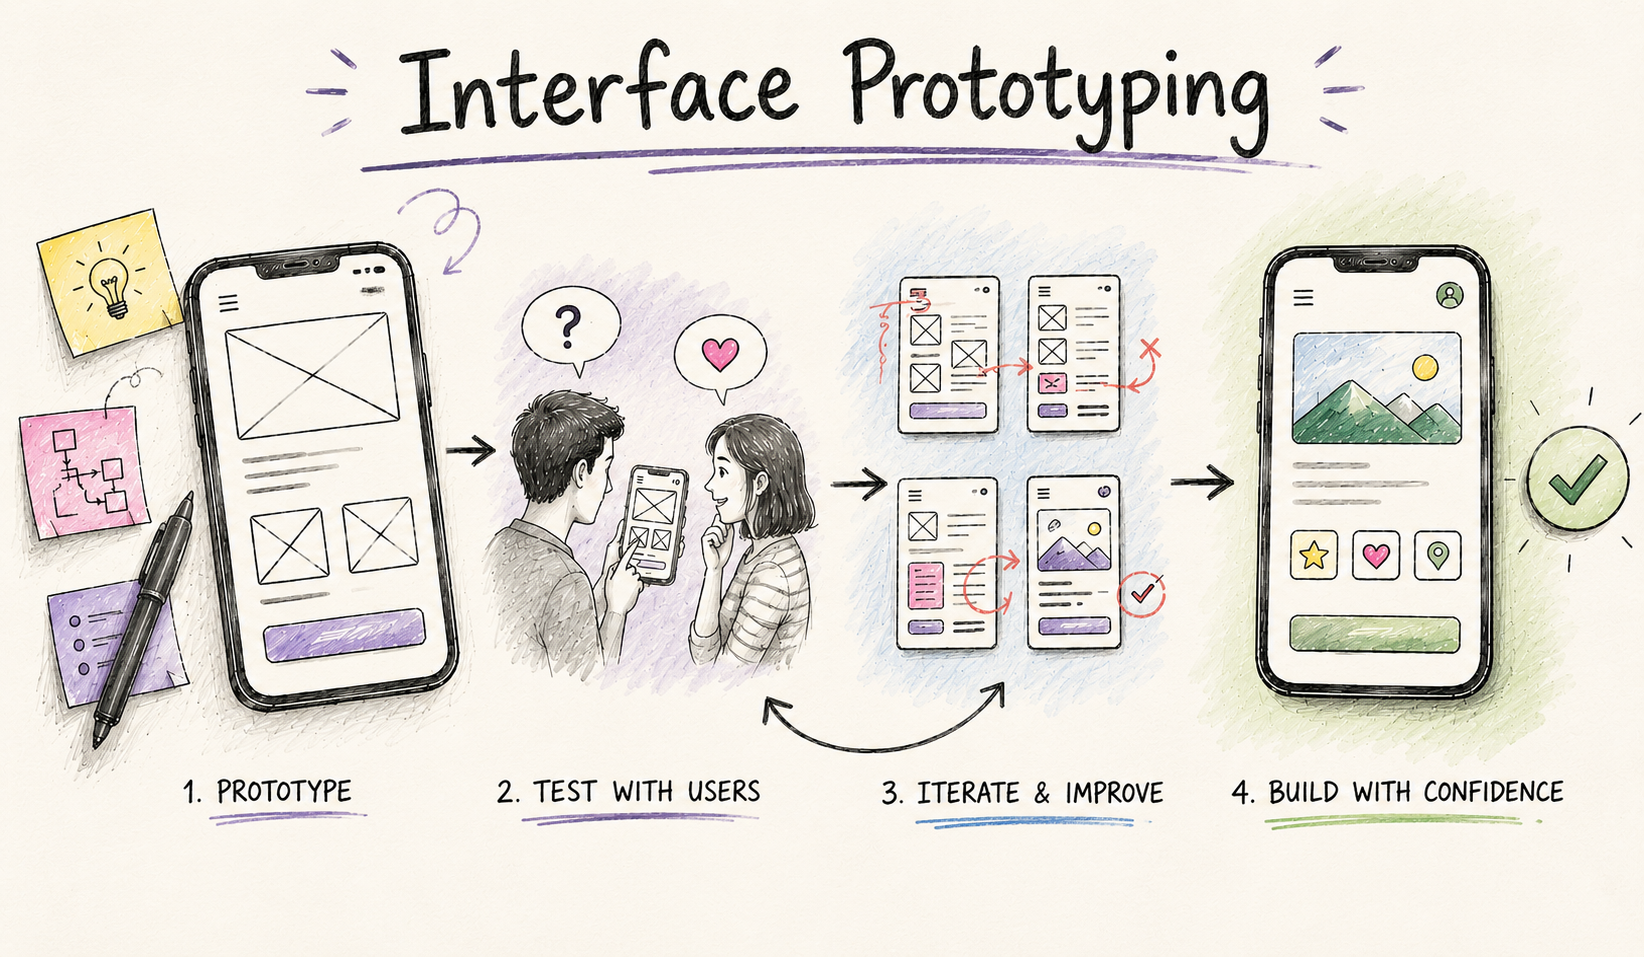
Picture this: your development team spends three months building a product based on a design that seemed logical on paper. Then you put it in front of real users, and they are confused. They cannot find the key feature. The checkout flow loses them on step two. The navigation makes no sense to anyone outside your internal team.
Now you have a choice: rebuild and delay, or launch a product that underperforms. Neither is a good option.
This is the scenario that interface prototyping exists to prevent. By creating a testable, interactive model of your product before development begins, you discover these problems when they cost hours to fix rather than months. In this blog, we explain exactly what interface prototyping is, the different types available, and why it is a non-negotiable step in any serious product design process.
What Is Interface Prototyping
Interface prototyping is the process of building an interactive, clickable model of your digital product’s screens and flows. A prototype simulates the experience of using the product without requiring any actual development work.
Depending on the stage of the project, prototypes can range from rough sketches of screen layouts to near-pixel-perfect, fully interactive models that closely resemble the final product.
The core purpose of a prototype is simple: to test whether a design works before committing to building it.
The Types of Prototypes and When to Use Each One
Not all prototypes are the same. The right type depends on what you need to learn and at what stage of the project you are.
Low-Fidelity Prototypes (Wireframes)
Low-fidelity prototypes, commonly called wireframes, are basic representations of screen layouts using simple shapes, placeholder text, and rough outlines. They have no visual design, no color, and no imagery.
Wireframes are used in the early stages of product design to establish:
- The overall structure and layout of each screen
- The hierarchy of content and features
- The primary navigation and user flows
Because wireframes are quick to create and easy to change, they are ideal for rapid iteration at the concept stage. You can explore multiple structural directions without investing significant time in any one of them.
Mid-Fidelity Prototypes
Mid-fidelity prototypes add interactivity to wireframes. They are clickable, meaning users can tap or click through screens to experience the flow of the product, but they still lack detailed visual design.
Mid-fidelity prototypes are excellent for early-stage user testing because they are realistic enough to generate genuine behavioral feedback without the cost of full visual design.
High-Fidelity Prototypes
High-fidelity prototypes are the closest thing to the final product short of actual development. They include full visual design, realistic content, transitions, micro-interactions, and near-final copywriting.
High-fidelity prototypes are used for:
- Final usability testing before development handoff
- Stakeholder and investor presentations
- Developer specifications and handoff documentation
- Marketing and pre-launch previews
Tools like Figma allow designers to create high-fidelity prototypes that are indistinguishable from the real product to most users, making testing results highly reliable.
Why Interface Prototyping Is One of the Best Investments in Product Development
It Catches Problems Before They Become Expensive
The cost of fixing a design problem grows exponentially the later it is discovered. A usability issue found during prototyping might take a few hours to resolve. The same issue found after development can require days or weeks of rework, not just from designers but from developers, testers, and product managers.
According to IBM research, fixing a problem after development is up to 100 times more expensive than fixing it during the design phase. Prototyping is, in essence, the cheapest form of insurance in the product development process.
It Puts Real Users at the Center of Design Decisions
Prototyping enables structured user testing before launch. Instead of relying on internal opinion about whether a design works, you can put the prototype in front of five to ten users from your target audience and observe exactly how they behave.
User testing with prototypes reveals:
- Where users get confused or stuck
- Which features they use intuitively and which require explanation
- Whether the navigation structure makes sense to someone unfamiliar with the product
- How users describe what they see (which informs copywriting and labeling)
These insights transform subjective design debates into objective, evidence-based decisions.
It Aligns Everyone Before Development Starts
One of the most underrated benefits of prototyping is stakeholder alignment. When a prototype is shared with founders, clients, product managers, and developers, everyone can see and experience the product rather than trying to interpret written specifications or static screenshots.
This alignment prevents one of the most common and costly problems in product development: different people having different mental models of what is being built, only discovering the mismatch after development is underway.
It Speeds Up Developer Handoff
A high-fidelity prototype, especially one built in Figma, serves as a detailed specification document for developers. It communicates exactly how every screen should look and behave, what happens on each interaction, and how elements are spaced and styled.
This reduces the back-and-forth between design and development teams, cutting down build time and the number of revision cycles.
The Interface Prototyping Process We Follow
Our prototyping process is structured to generate maximum learning at each stage while keeping timelines and costs efficient.
Step 1: Flow Mapping
Before designing any screens, we map out the complete user flows within the product. Which screens exist? How does a user move from one to the next? What happens at each decision point? This gives us a complete picture of everything the prototype needs to cover.
Step 2: Wireframing
We create low-fidelity wireframes for all key screens and flows. At this stage we focus entirely on structure, hierarchy, and navigation, not visual design. We typically explore two to three layout directions before aligning on a single direction to move forward with.
Step 3: Interactive Prototype Build
We build the clickable prototype in Figma, connecting screens and adding realistic interactions and transitions. The prototype is built to cover all primary user flows, including edge cases and error states.
Step 4: User Testing
We conduct moderated or unmoderated usability testing sessions with five to ten users from your target audience. We observe how they interact with the prototype and gather structured feedback on points of confusion, missing functionality, and overall impressions.
Step 5: Iteration
Based on testing findings, we refine the prototype. This may involve restructuring flows, relabeling navigation, adjusting content hierarchy, or redesigning specific screens. We iterate until the prototype consistently performs well in testing.
Step 6: Visual Design and High-Fidelity Prototype
With the UX validated, we apply full visual design to create a high-fidelity prototype. This becomes the definitive design reference for development.
Common Mistakes Teams Make by Skipping Prototyping
kipping the prototyping phase is a risk that rarely pays off. Here are the most common consequences:
Building features no one uses: Without testing, teams often build based on assumptions. Prototyping reveals quickly which features users actually need and which can be deprioritized.
Confusing navigation that hurts retention: Navigation that makes perfect sense to the team is frequently confusing to users. This only becomes visible in testing.
Expensive mid-development pivots: Discovering fundamental flow problems during development is far more disruptive than discovering them in a prototype.
Misaligned stakeholder expectations: Without a tangible prototype to review, stakeholders often have different expectations of the final product, leading to friction and delays at the end of the project.
CONCLUSION
Interface prototyping is not an optional extra step. It is the smartest way to validate your product design, reduce development risk, and ensure that what gets built is something users will actually understand and enjoy.
The businesses that ship great digital products are the ones that test early, iterate fast, and build with confidence. Prototyping is how that happens.